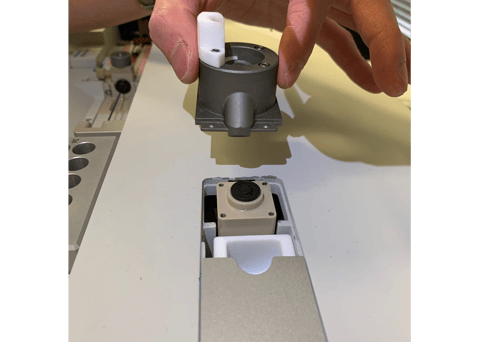
We have introduced a consumable list for the VROC® Initium maintenance in the previous post. In this post we will be expanding a little on one of the most common consumable replacements --- The septa.
1. Injection Port Septum
There is a septum located in the injection port, which is an engineered membrane that permits transfer of a substance (usually liquid or gas). Over time, there may be liquid residue left inside the septum that may cause leaking. Therefore, the septa need to be replaced periodically.
The real time use counts (of the septum) can be found in the top right corner of the initium software. Whenever the number is highlighted in red, it’s time to replace the septum.
To replace the injection port septum, simply unscrew the injection port aluminum cap, then remove the old septum. Next, carefully take out a new septum from the starter kit. Please note that the septum has a metal spring attached, so be careful not to touch the spring because it may cause the spring to dislodge. Gently place the new septum inside the injection port with the spring side facing downward. Give it a good press to make sure the septum sits properly in the injection port. Lastly, screw in the cap.

The syringe leak tests can be run to check if the injection port septum has been replaced properly.
2. Wash Port Septum
To replace the wash port septum, please locate the four screws on top, and use a 5/64 size screwdriver to remove those four screws. From there, the wash port can be lifted. The wash port septum’s replacement process is the same as the injection port septum’s. Once the new septum is in, make sure the wash port is mounted properly (with four screws) to provide a good seal.

I hope these few tips and tricks have been helpful, and if you ever need help or have any questions feel free to contact us at 1 (925) 866-3808.
Written by: Ecko Chen, RheoSense Mechanical Engineer


